

A few months ago, a streetwear brand reached out to us about producing 50 custom pins for a product launch. They had a great logo. They had a budget. What they didn't have was any idea whether they needed hard enamel or soft enamel, or what the difference even was. That conversation happens more often than you think, so we put this guide together.
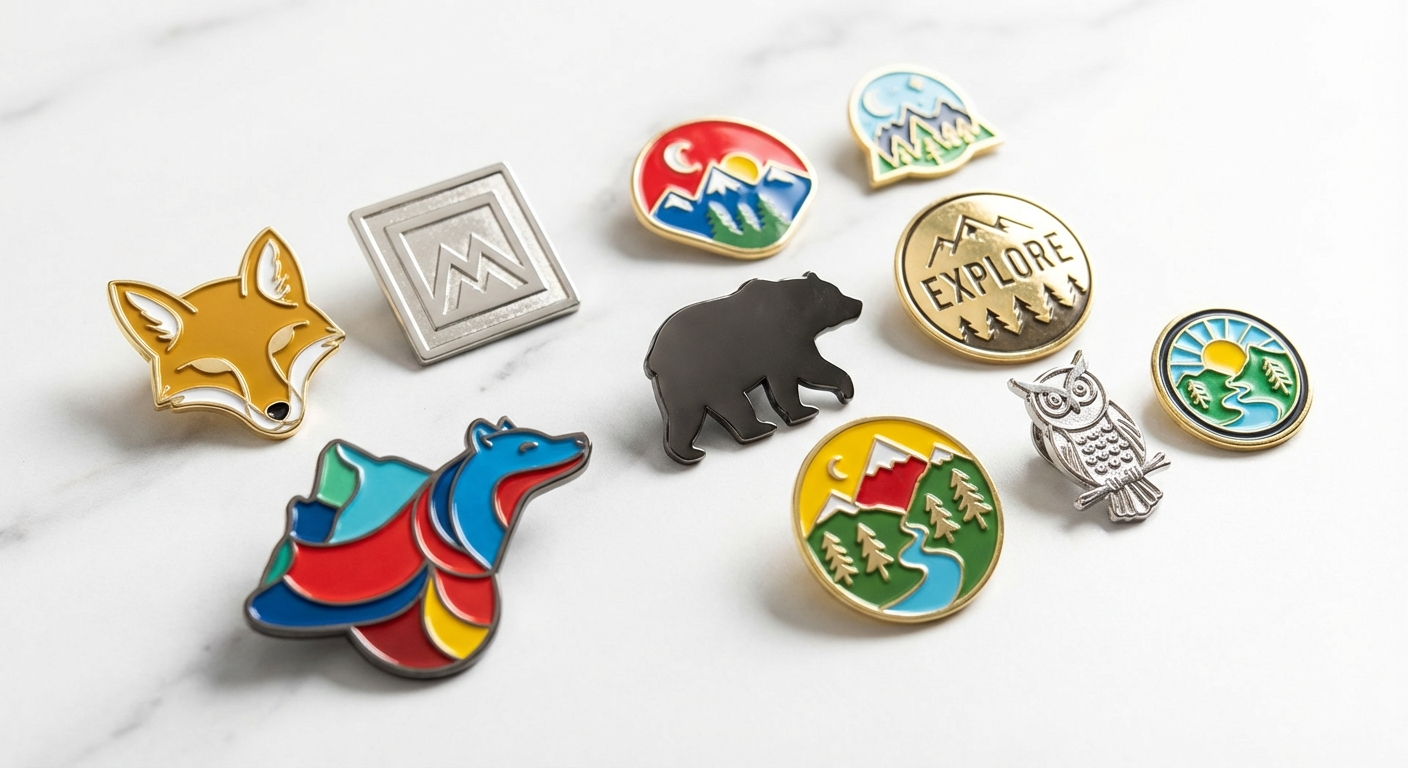
Custom enamel pins have moved well beyond the lapel-pin-on-a-blazer era. They show up on hat brims, tote bags, denim jackets, lanyards, and product packaging. Brands use them as merch. Nonprofits hand them out at fundraisers. Restaurants pin them to staff aprons. The applications keep expanding because pins are compact, collectible, and surprisingly affordable, especially when you know exactly what you're ordering.
Hard Enamel vs. Soft Enamel: The Core Decision
Every custom enamel pin starts with a metal die that stamps your design into shape. After that, the two processes diverge.
Soft enamel pins get their color from liquid enamel that's poured into the recessed areas of the die and then oven-baked. The enamel sits below the metal lines, so you can feel the raised edges when you run a finger across the surface. That textured quality gives soft enamel pins a dimensional look that photographs well and feels substantial. They're the more popular option for most custom orders, and they cost a bit less than hard enamel.
Hard enamel pins go through extra steps. The enamel is applied in layers, baked between each application, and then polished flush with the metal lines. The result is a perfectly smooth, glass-like surface. Hard enamel pins feel more like jewelry; they are heavier, more scratch-resistant, and they hold up longer in situations where pins get handled frequently. If you're making something that sits on a retail display or ships as a premium add-on, hard enamel is usually the right call.
The visual difference is real but subtle in photos. In person, though, you notice it immediately. Hard enamel reads "premium" the moment someone picks it up.

Metal Finishes and Plating Options
The metal parts of your pin: the border lines, the back plate, and any raised design elements, come in a range of plating options. The finish you choose affects the overall tone of the pin more than most people expect.
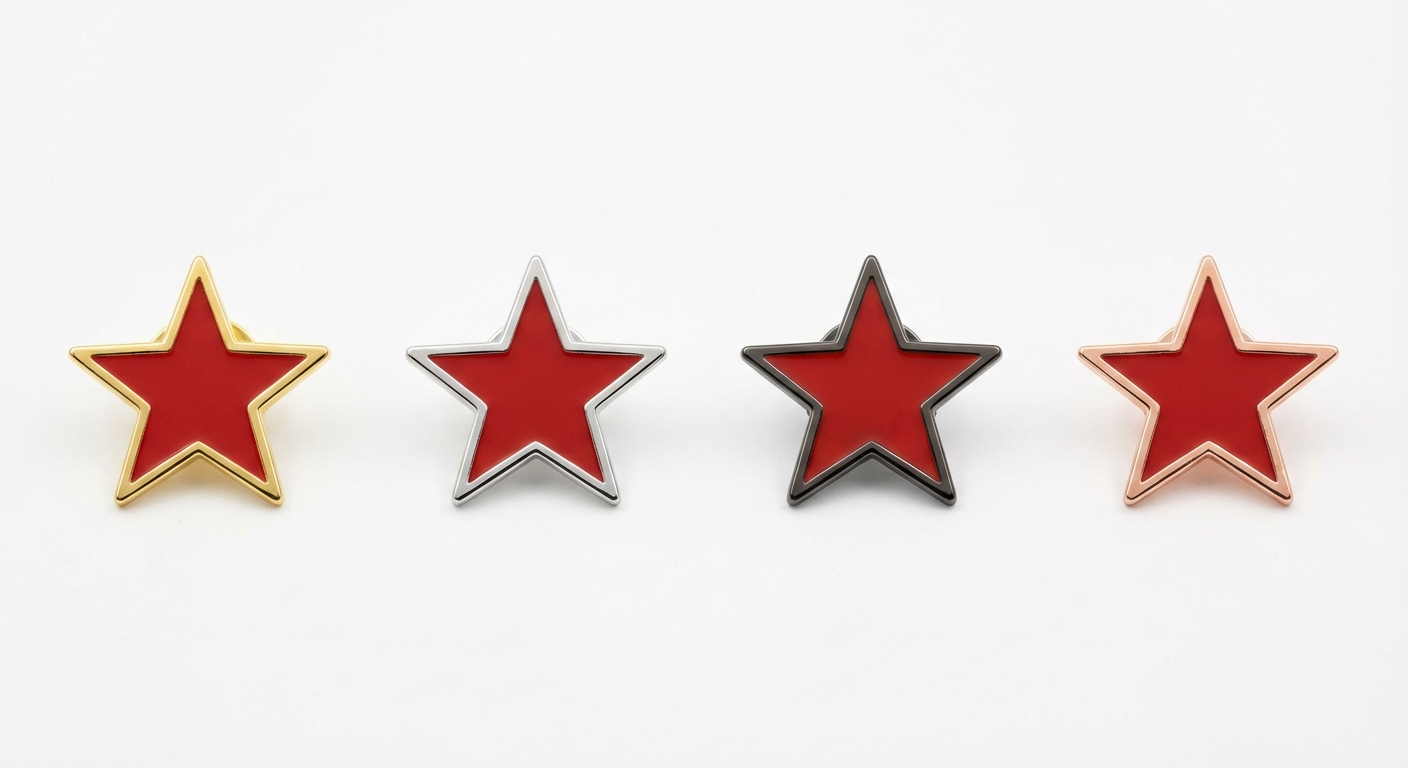
Gold plating is the most popular. It pairs well with warm colors (reds, oranges, earth tones) and gives pins a classic, polished look. Silver/nickel works better with cool palettes — blues, greens, black-and-white designs. Black nickel creates a dramatic, high-contrast effect that's become very popular with streetwear and music brands. Rose gold has surged in the beauty and lifestyle space. And antique finishes (antique gold, antique silver) give pins a weathered, vintage character that works especially well for craft-oriented brands and outdoor companies.
Size, Shape, and Design Limits
Most custom enamel pins land between 0.75" and 1.5" at the widest point. Under 0.75" fine details will begin to blur, especially fine text. Over 2", pins get heavy and the post on the back can struggle to hold them securely on lighter fabrics.
Shape is essentially unlimited. Die cutting means your pin can follow the shape of a coffee cup, an animal silhouette, a state outline, or any outline your design calls for. Complex outlines cost the same as simple circles. What does add cost is cutouts (holes through the middle of the pin) and moving parts (spinner pins, bobblehead pins). Those are specialty items, and most standard pin orders don't need them.
Color count matters more for soft enamel than hard. Each color area needs to be separated by a metal line at least 1mm wide. Very detailed designs with gradients or photographic elements aren't a great fit for enamel pins. Printed pins work better for those more detailed and photographic designs. Enamel is ideal for bold, graphic designs with clean color separations.
Backing Options: Butterfly Clutch, Rubber, Magnetic
The back of the pin matters more than people realize and it determines how the pin attaches and how secure it stays.
Butterfly clutches (also called military clutches) are the standard. They're the small metal clasps that pinch onto the post. Reliable, low-profile, and universally recognized. Most orders ship with butterfly clutches by default.
Rubber clutches (PVC backs) grip more tightly and are easier to put on and take off. They're popular for pins that will be swapped frequently — think pin collections, trading events, or retail merch that customers will move between bags and jackets.
Magnetic backs avoid putting a hole in the fabric entirely. They use two strong magnets — one on the pin, one behind the fabric — to hold the pin in place. The tradeoff is security: magnets can slip on thin fabrics and they're not great for active movement (running, sports). But for corporate events, conferences, and professional settings where you don't want a pin hole in a dress shirt, they're ideal.
We also offer deluxe clutches with locking mechanisms for high-value pins where loss prevention matters like for limited edition releases.
The Ordering Process: What to Expect
Here's how a typical pin order works with us at Quality Woven Labels:
Step 1: Submit your design. Upload your artwork — vector files (AI, EPS, PDF) are ideal, but we can work with high-resolution PNGs or JPGs. Our art team will convert your design into a pin-ready format and send you a digital proof showing exactly how the finished pin will look, including your chosen metal finish and enamel colors.
Step 2: Approve the proof. Review the proof carefully. This is where you confirm colors, size, metal plating, and backing type. Changes at this stage are free and fast. Changes after production starts are not.
Step 3: Production. Custom dies are cut, metal is stamped, enamel is applied and baked. Standard production takes about 2-3 weeks.
Step 4: Delivery. Pins ship individually poly-bagged by default. Upgrade options include custom backing cards (the cardstock cards that pins are mounted on for retail display), velvet pouches, or custom boxes.
Our minimum order for custom enamel pins is just 25 pieces — low enough to test a design before committing to a large run. Pricing drops significantly at 100, 250, and 500 piece price tiers.
Common Mistakes to Avoid
After producing thousands of pin orders, we see the same issues come up repeatedly:
Text too small. If your pin is 1" wide, any text needs to be at least 4-5mm or 11-14pt tall to be legible. Brand names in tiny script below a logo usually need to be enlarged or removed. The proof stage catches this, but it saves time to plan for it upfront.
Too many colors in soft enamel. Each color area needs metal borders. A design with 12 colors at 1" creates a pin that looks busy and muddled. Simplify to 4-6 strong colors for the best result.
Ignoring the metal finish in color planning. A red logo on gold plating reads very differently than the same red on black nickel. Ask for proofs in multiple finishes before deciding and we can mock up alternatives easily.
Hard Enamel or Soft? A Quick Decision Framework
Choose hard enamel if: the pin will be sold at retail or given as a premium gift, your brand positioning is luxury or high-end, the pin will be handled frequently, or you want maximum durability and a jewelry-like feel.
Choose soft enamel if: you want the textured, dimensional look, you're ordering for events or promotional giveaways, your design has many fine details that benefit from recessed color areas, or you want to keep per-unit cost lower.
Both options produce a high-quality finished product. The "right" choice depends entirely on the application, not on one being objectively better than the other.
Ready to get started? Browse our custom pin options or request a free quote — our minimums start at just 25 pieces, and every order includes a digital proof and pre-production photo approval.
The information below is required for social login
Sign In
Create New Account