

You have finalized a beautiful design: a crisp logo, a detailed crest, or a tiny illustration that completely captures your brand's spirit. Bringing it into the physical world on a patch should feel like a victory. Yet the moment you start exploring custom embroidery, the technical choices stack up quickly. Iron-on or sew-on? Merrow border or precision laser-cut? 50% coverage, 75% or 100%? It is easy to feel overwhelmed by decisions when all you want to do is see your work on a jacket or hat.
For almost two decades, we have helped thousands of independent creators, artists, and clothing lines turn digital art into physical patches. We put this guide together to help with the process. Below, you will find clear answers on patch styles, border choices, attachment backings, and how to place an order with total confidence.
What Makes an Embroidered Patch
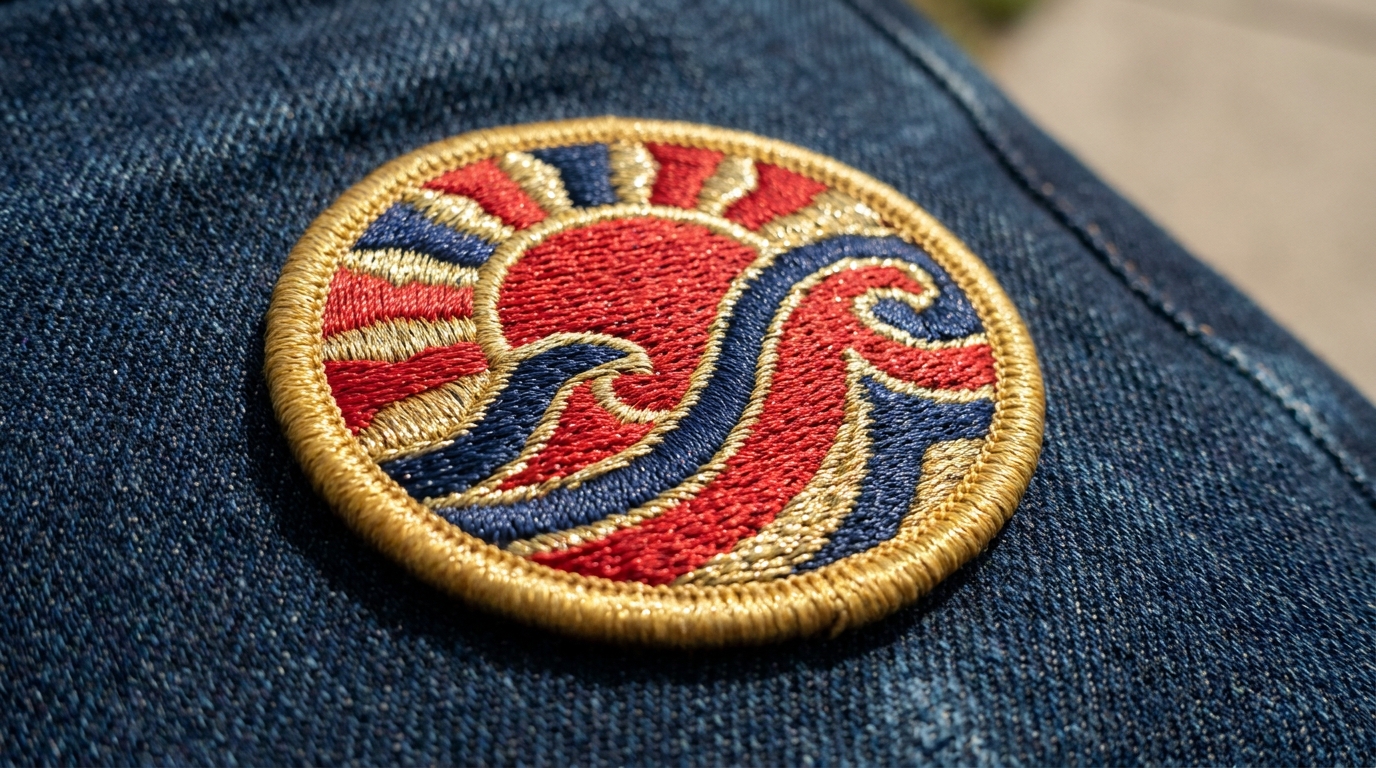
At its core, an embroidered patch starts with a solid fabric base, usually a strong twill weave. A graphic artist digitizes your original artwork, translating lines and shapes into specific stitch paths. From there, industrial machines stitch thread layer by layer, bringing your visual concept to life with tactile depth.
That stitched texture is what gives embroidery its enduring charm. Unlike flat screen prints or thermal transfers, thread catches the room's lighting from different angles, creating a rich physical surface. It is built for real life, too. High-quality embroidery is wash-resistant, colorfast, and tough enough to handle everyday wear on heavy gear.
Stitch coverage measures how much of the underlying fabric base gets covered by thread. Lower coverage (around 50%) allows the background twill texture to show through, which works nicely for simple text or minimal emblems. Higher coverage (75% or more) creates a dense, solid field of thread for bold logos and illustrations. For a polished, professional finish, we typically recommend aiming for at least 75% or 100% coverage.
Patch Types: The Main Options
Every patch style carries its own tactile personality and visual weight. Choosing the right construction comes down to your artwork and how the patch will be used.
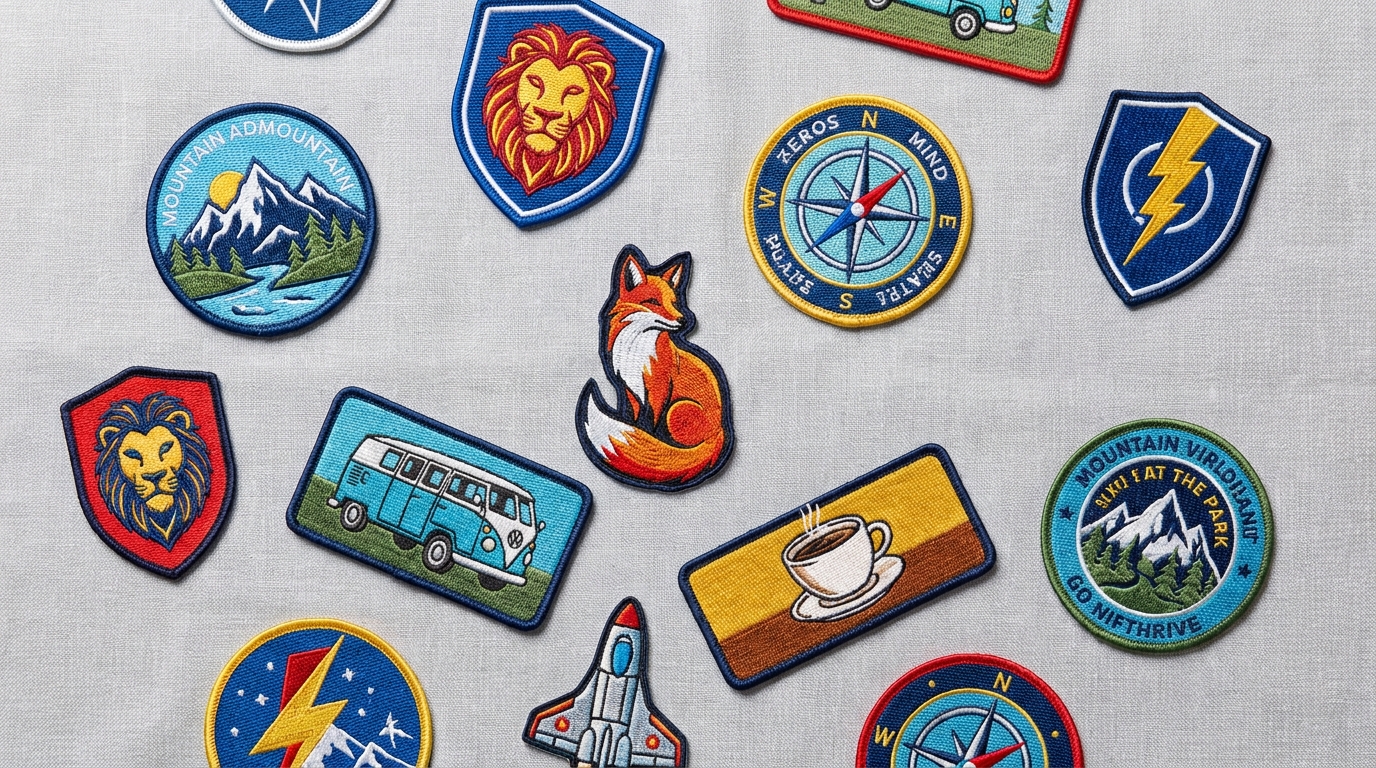
Standard embroidered patches are the timeless classic. Built on a durable twill base with raised stitching and a clean border, they adapt effortlessly to almost anything, from denim jackets to tote bags and caps. If you are ordering for the first time, this is usually the perfect place to start.
Chenille patches feature looped yarn that creates a soft, cozy, plush feel. Think of vintage letterman jackets and varsity sweaters. Because the yarn pile is thick, chenille favors big, simple shapes over delicate details. If your creative line leans toward athletic retro nostalgia, chenille adds a fantastic dimension. You can start with orders as small as 5 pieces.
Woven patches offer a sleeker, flatter alternative. Rather than stitching thread on top of a base fabric, the entire design is woven straight into the fabric structure using thinner threads. This allows for incredible precision with fine linework, tiny typography, and tight gradients that standard embroidery might blur.
PVC patches are molded from flexible, waterproof rubber instead of thread and cloth. They bring a modern, rugged aesthetic to outerwear, backpacks, and rain gear. Because they require custom manufacturing molds, they carry higher minimum order quantities (100 pieces) and longer lead times, but their durability is unmatched.
For most independent creators, standard embroidered patches hit the sweet spot of tactile quality, accessible 5-piece minimums, and quick turnarounds.
Border Styles: Merrow vs. Heat Cut vs. Laser Cut
The frame surrounding your design does more than just hold the edges together; it heavily influences the finished vibe.
A merrowed border is the traditional, wrapped overlock edge seen on classic scout and military patches. It provides a raised, pillowy frame around simple geometric shapes like circles, ovals, rectangles, and classic shields. Because of how the merrowing machine operates, merrowing cannot follow sharp inner cuts or complex silhouettes.
A laser-cut border uses a special laser cutting machine to seal the fabric right against the stitch line. This allows your patch to take on custom die-cut shapes with clean, tight curves that a merrowed edge cannot handle. The result feels contemporary and tailored.
If you are unsure which border fits your design, share your artwork with us. We will look at your outer lines and recommend the border style that works best for your original concept.
Backing Options: How Your Patch Will Attach
Your choice of backing dictates how the patch attaches to a garment or bag. Here is how the main choices function in practice.
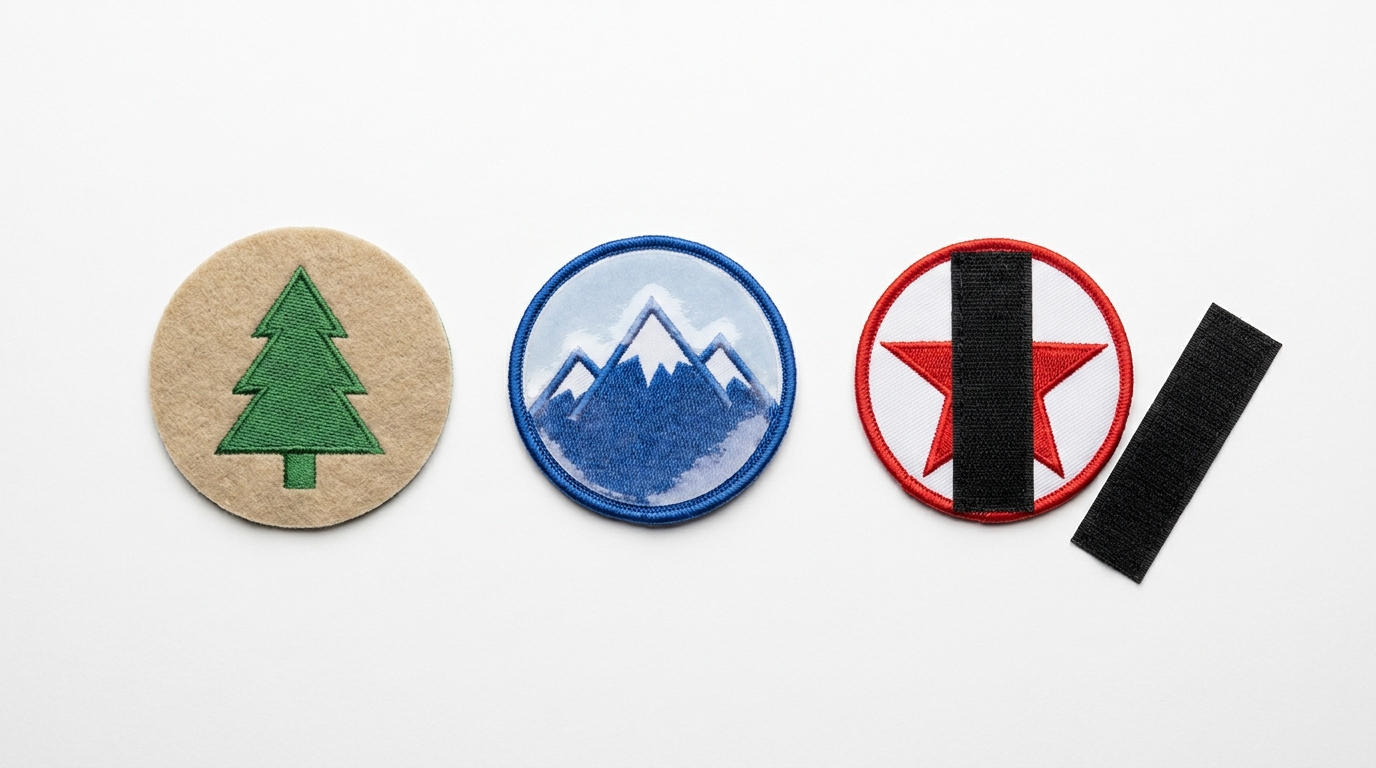
Iron-on backing applies a clear, heat-activated adhesive layer to the rear of the patch. You can set it using a standard home iron or a heat press. It is quick and convenient for casual pieces, though repeated machine washing can eventually loosen the bond. For garments that get heavy wear, adding a quick stitch around the perimeter after ironing ensures it stays secure forever.
Sew-on backing features a simple fabric or felt rear surface without adhesive. It is the gold standard for long-term durability, favored for workwear, heavy outerwear, and pieces destined for frequent washing. If longevity is your primary goal, stitching your patches directly is the best route.
Velcro® backing (hook-and-loop) provides complete flexibility, allowing the wearer to swap patches effortlessly. The hook side attaches directly to the patch backing, while the loop side is sewn onto the garment or bag. Keep in mind that Velcro adds extra stiffness, making it better suited for jackets, hats, and gear than lightweight shirts.
Peel-and-stick backing acts like a high-tack sticker. It is ideal for temporary events, trade shows, or display boards, but it will not withstand machine washing.
For most clothing brands, iron-on (for easy application) or sew-on (for lasting durability) work best. Combining iron-on application with a fast border stitch gives you the ultimate mix of convenience and strength.
Size and Thread Colors
Getting the scale right is crucial. A patch that is too small can squeeze your fine lines, while an oversized patch can cause lightweight fabric to sag.
For chest pockets and sleeves, 3 to 4 inches hits a natural balance. Cap fronts typically work best around 2 to 2.5 inches wide. Large jacket backs can stretch up to 10 or 12 inches across, though large-scale pieces require thoughtful design planning to ensure the stitched area feels balanced.
Thread colors are selected from extensive color libraries. We match your artwork closely and always send a clear visual proof before production begins. If you work with specific Pantone shades, share them so we can align our thread selections with your brand palette.
Keep contrast in mind as you design. Dark thread on a dark background can blend together, whereas bright contrasting colors pop brilliantly and capture fine detail both in hand and in photography.
What to Include When You Order
Preparing your files thoughtfully helps speed up production and keeps everything moving smoothly.
Vector files (AI, EPS, or vector PDF with outlined fonts) give our team the cleanest start. If you are working with raster graphics (PNG or JPG), send high-resolution files, ideally 300 DPI at your target print size. Our skilled digitizers translate your artwork into precise stitch paths, and we will always send a digital proof for your approval before stitching the run.
When you are ready, let us know your desired patch dimensions, thread color count, preferred backing, and total quantity. Small batch orders of 5 to 25 pieces generally ship within 5 to 10 business days after proof approval.
Explore our full collection of custom patch options, from rich embroidery to fine woven threads and plush chenille. Reach out anytime to chat through your project. We are always happy to offer friendly guidance, transparent quotes, and tailored recommendations for your timeline. With minimums starting at just 5 pieces, you can easily test a sample run before making a larger investment.
The information below is required for social login
Sign In
Create New Account